Monday, 12 November 2012

Paint stripping and rust removal


Watch this video, these wheel rims have been in this solution for about 3 weeks.
I found this method of paint and rust stripping , its cheap but it takes a few weeks and is a bit messy, so wear some gloves. I start with a large container and fill it with a mixture of  1 part molasses and 8  parts of water. Then place the metal parts into the mixture for about 4 weeks, keep it covered as it smells and you probably want it out the back somewhere, what you'll find is the paint comes off rather easily by spraying with a hose and most of the rust will have fallen off. you may have to scrub a bit with some stainless steel wool to loosen some of the bits that have remained. Caution do not put any parts that are not steel like alloy.
The metal will be bare and will corrode very quickly so treat it with metal ready and dry and paint as soon as you can.


I still use paint stripper on really thick paint because I don't really want to wait too long to get my guards sorted. there was about 4 coats of paint on these guards see the layers below.


                                                                     Bare metal at last. 


The underneath has only the original paint so I'll let the molasses strip that.


Doors had the same thing heaps of paint and it was crazzing and cracking on the top surfaces.


Bad rust repair which I had to cut out and repair properly.


Just a bit tidier and at least it shouldn't rust out as before


Some more repairs needed here but I'll do these after the rust has been treated.


Note the original part numbers and build date info on the rear of the front panel.


Friday, 26 October 2012

Work on the front guards


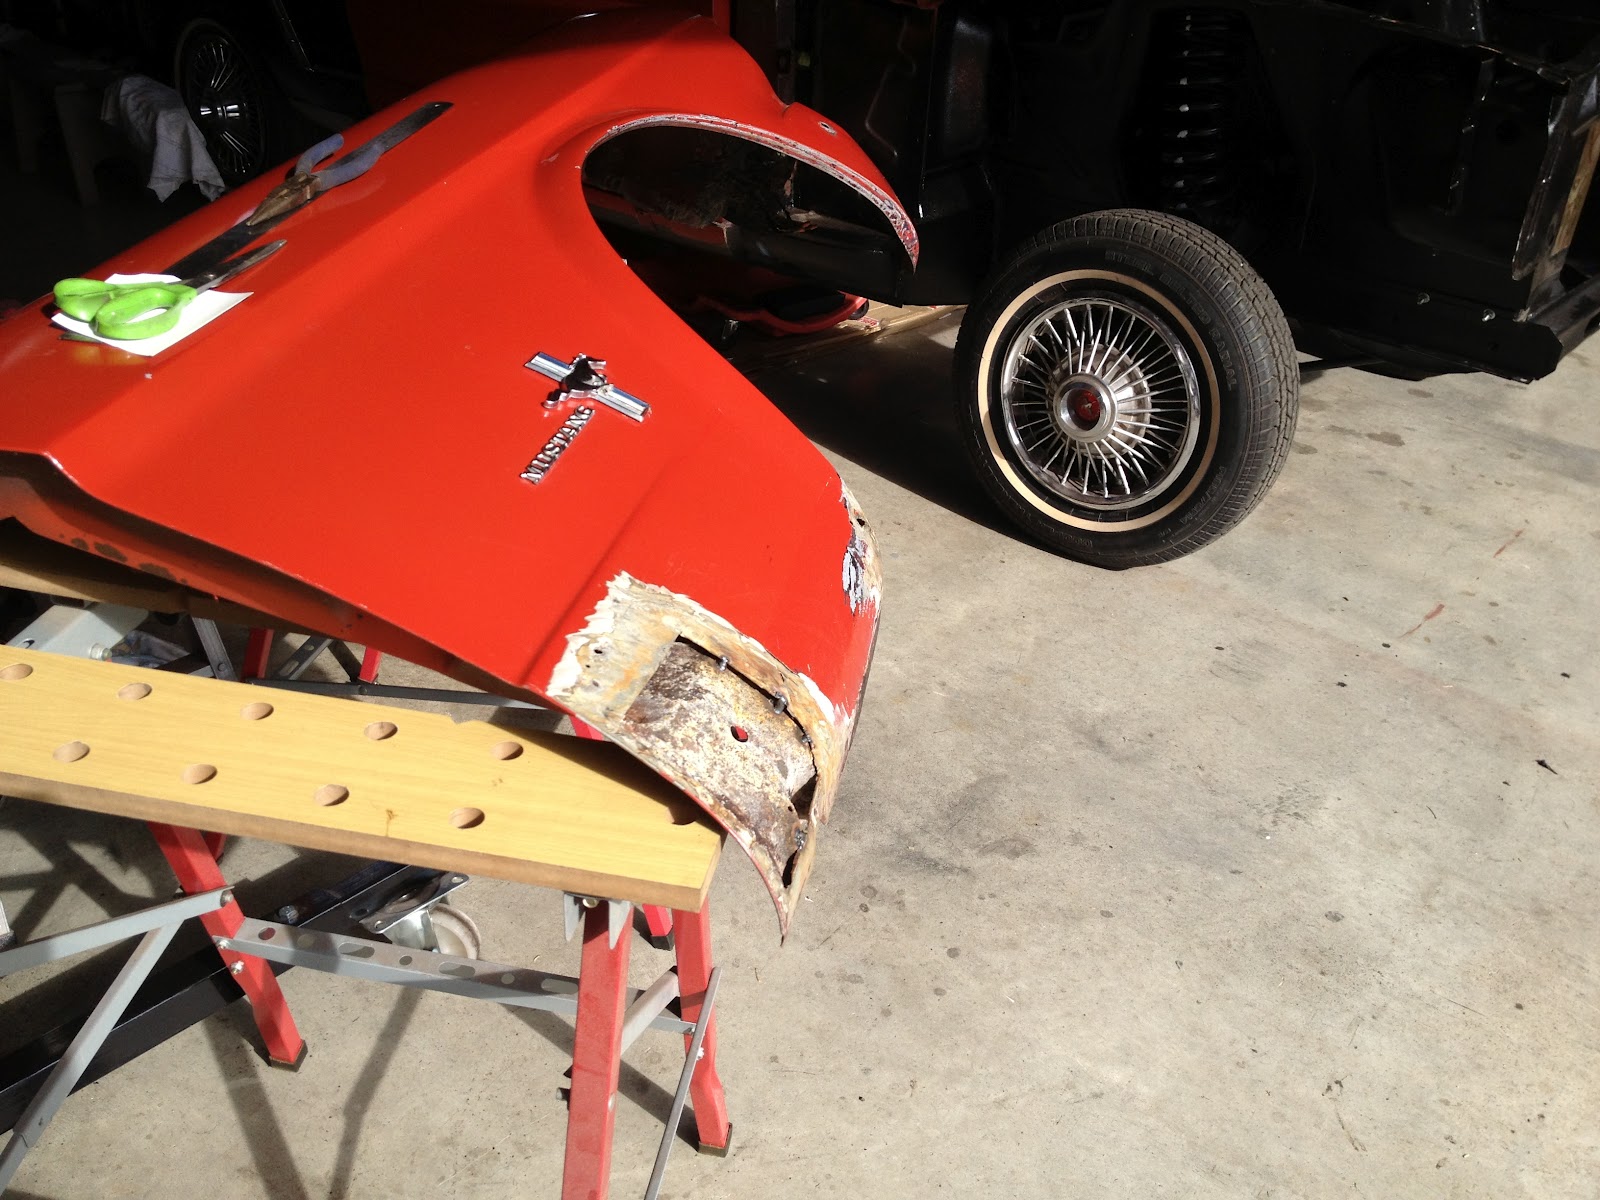
Here i am removing sections of rust in the guards and doors.
First I'll do the metal work then I will have to  strip the  paint and remove any remaining surface rust.


This guard had the worst rust it was  a previous repair that caused more issues so I had to cut out a big piece

These guard were in really good condition for 47 years old.


New section to be welded in.


I bolted the guard back into place to avoid any distortions before continuing with welding.


Tuesday, 16 October 2012

Finishing off the undercarrige


Trial fitted the bumper, fuel tank, taillights, chrome mouldings  etc to make sure everything lines up before carrying on, don't want to have to redo things as it takes long enough as it is to restore a car properly.
 
Need to yidy up all the welds and clean off any surface rust before sealing and painting.

Paul Knight from Classic Autos did a great job of welding in the rear chassis rails and fitting rear panels, saved me a lot of work and he has organised the repairs to be certified.


Here the welds are all ground back an painted now begins the panel sealing then I get to under seal the rest of the rear this Labour weekend.
Here I'm sealing all welds, seams and joins this will help prevent water getting in but need to leave drain holes so if any does get in it can escape.


Let it dry off prior to undersealing.

 
All undersealing finished off today, also got to fill chassis rails with body cavity sealer to prevent future rusting from the inside off all the rails and torque tubes.

 
I'll keep rotating the body and add extra cavity sealer so that it sloshes all around tthe inner cavities.


Monday, 17 September 2012

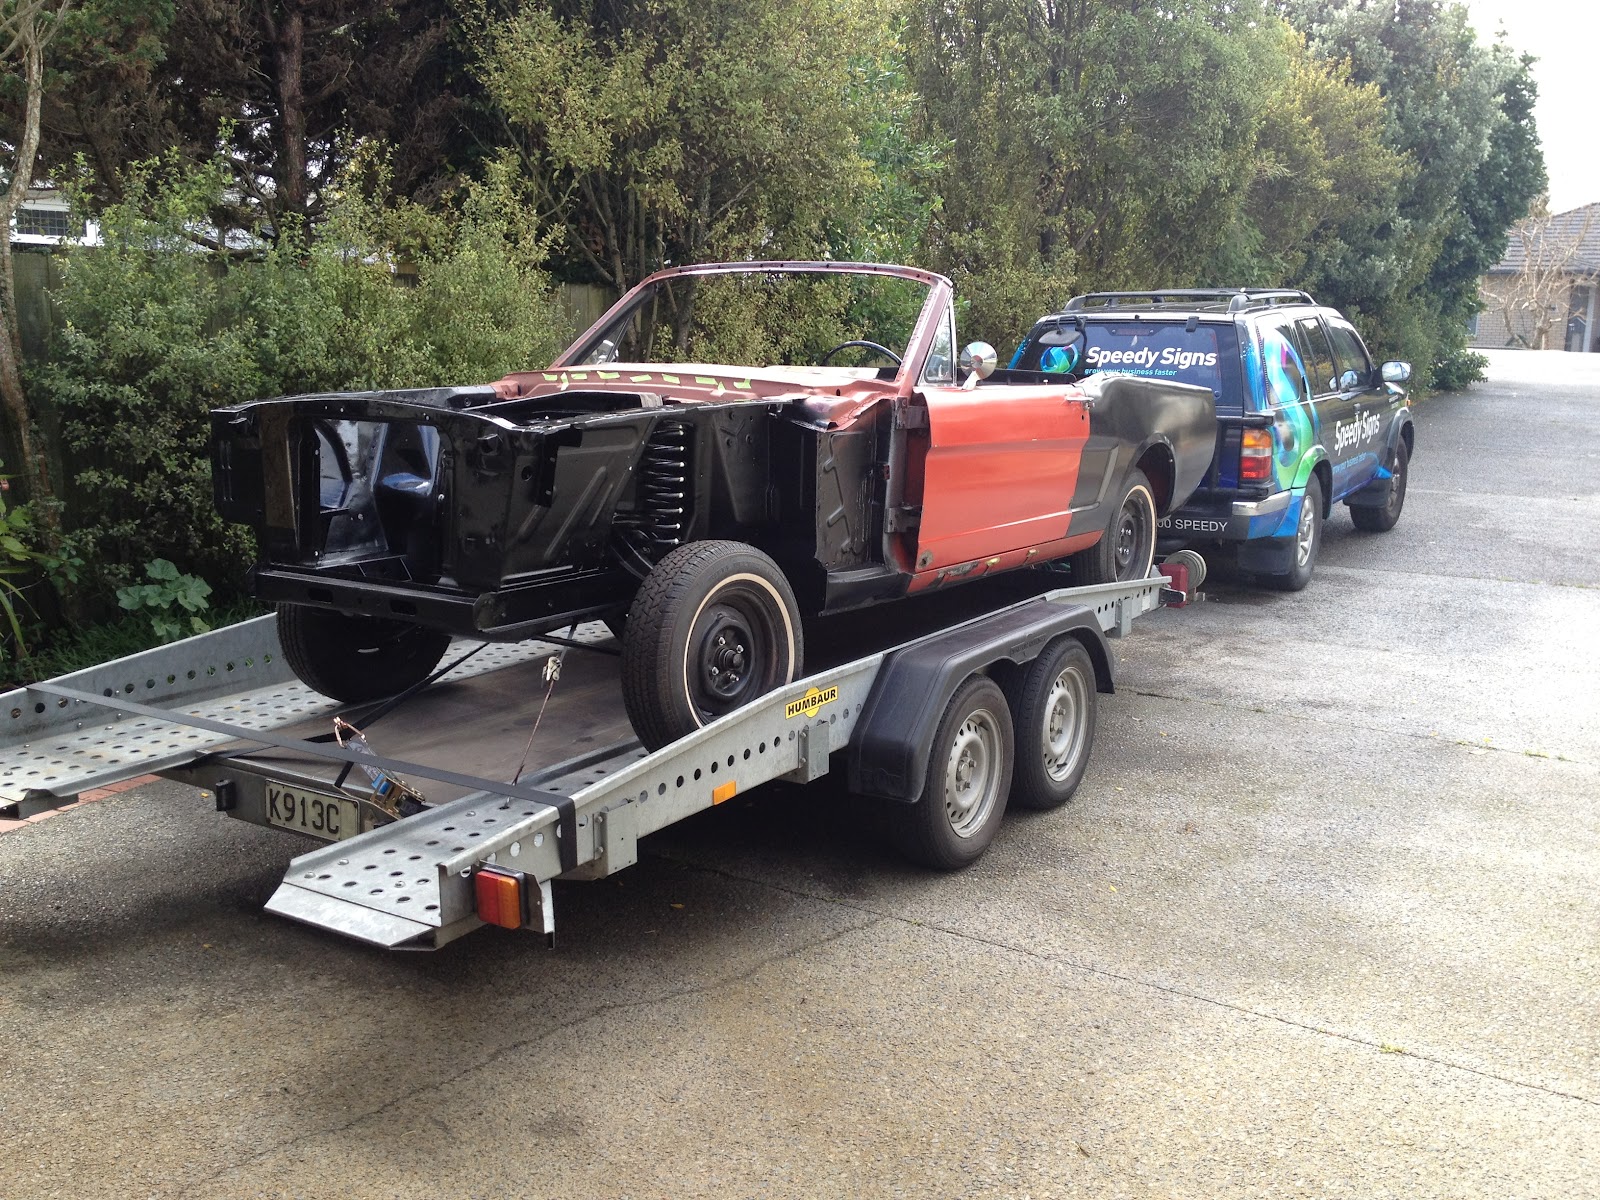
Off to Classic Autos for the rear chassis rail repairs and rear panel alignment.

It poured with rain  all morning, had to wait till lunch time to take to the body shop.
Thanks Glynn and Bevan from Road & Track for the loan of the car trailer, worked a treat.


Off  to Classic Autos for the chassis repairs and rear panel alignment.
Paul Knight is well rnowned for a top job so can't wait to see the  results. There's a bit of work alright.


Sunday, 16 September 2012

Getting the car ready to go to the panel shop for the rear chassis rails

Had to get the car ready to get the rear rails welded in by a certified welder and checked for compliance.

So I had to get things sorted not much time so everything has to go as planned.

Off the rotisserie and suspension back on again.

Align up all the panels as I'll get the panel peater to weld all back into position while he's working on the chassis alignment etc.


New rear chassis rails waiting to go in.

Just enough time to quickly sort out the battery panel.


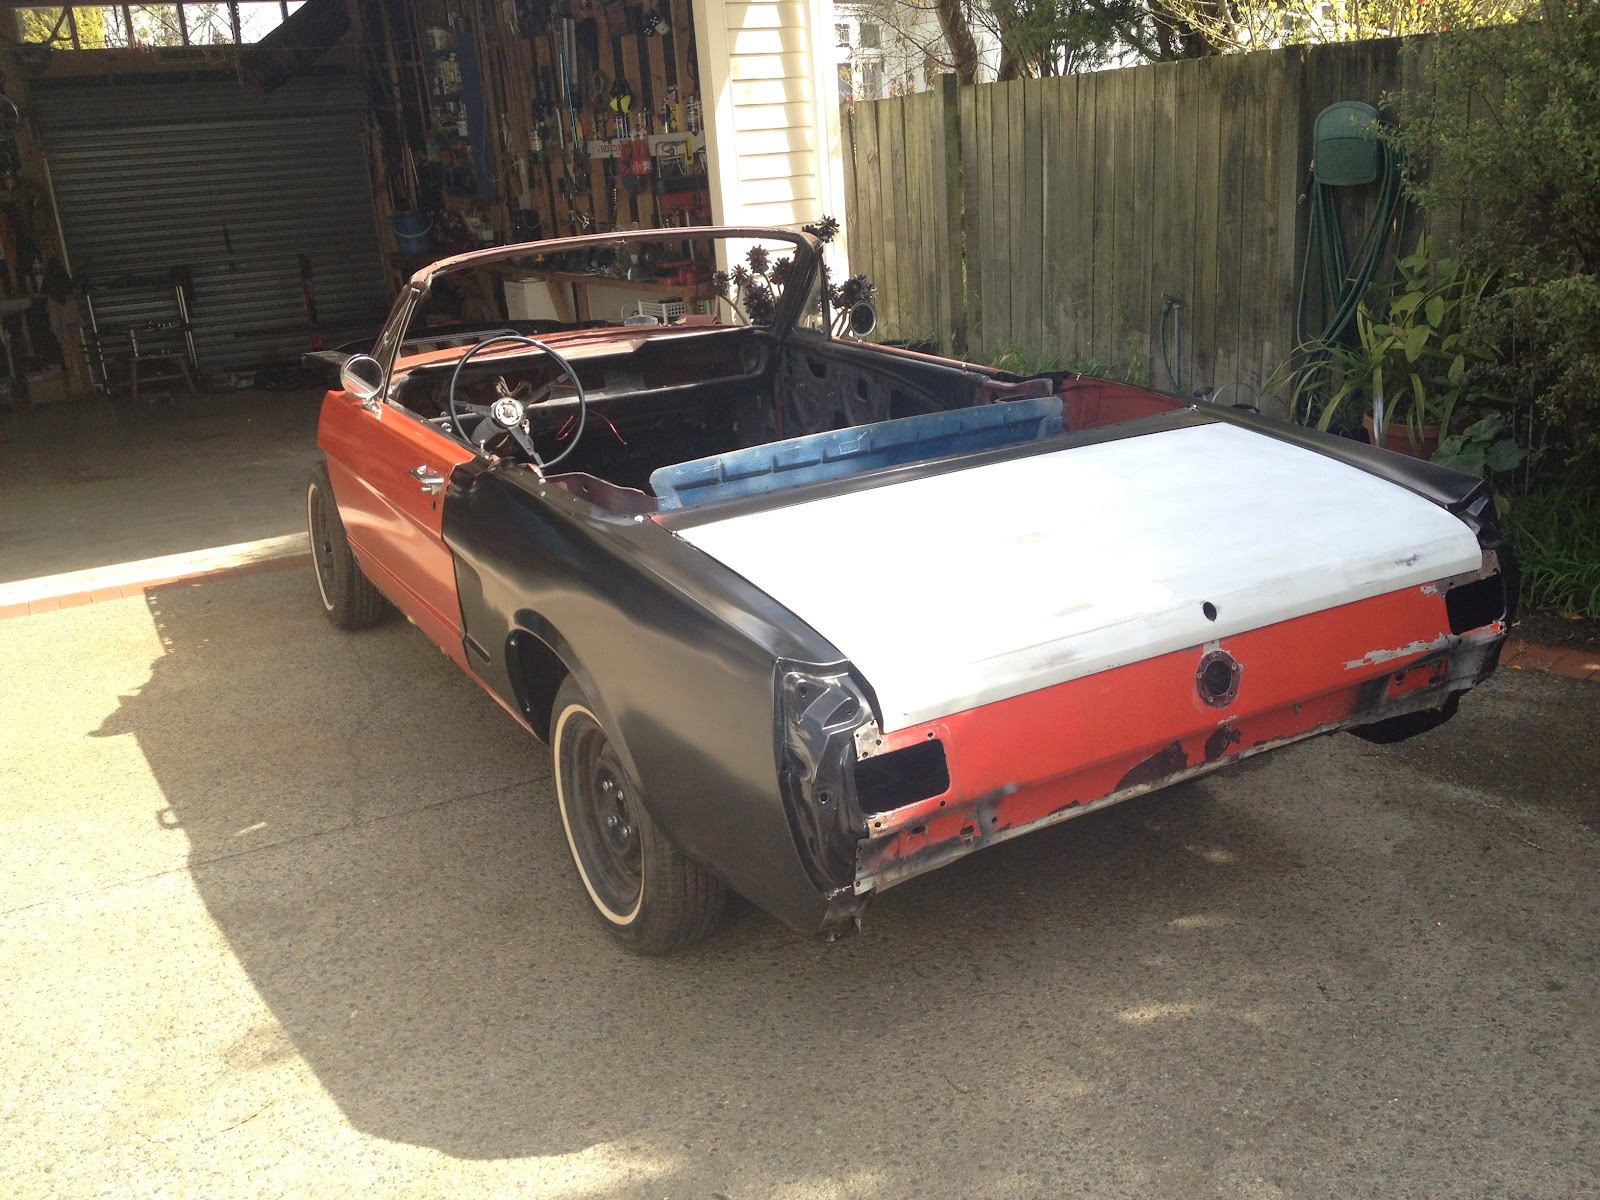
Sunday afternoon and all ready with time to spare, off to the panel shop tomorrow.

Sunday, 26 August 2012

Rear roof drain and rear wheel arch repairs

 
Rear drains had to be cut out completely too thin and rusty will replace with slightly thicker gauge to last longer

 
Replacing sections of drains to get the right contours

 
One completed drain ready to go back on the car

 
Drain and frame reinstalled on car after aligning with rear guard.


Time to finish off the rear wheel archs, for this I sectioned a new panel and only took what I needed to replace keeping as much of original rear wheel arches in place.

 
when ready I'll weld this into place