Wednesday, 10 April 2013

Redo Engine Bay and prime and prepare bonnet for painting

 
I did the engine bay in POR which was a mistake, even though I sanded the surface it seams to chip away too easily.
Just as well the motor is not back in place yet.

The gloss finish is not correct anyway, so I'll strip it all and prime with a good etch primer then paint with a satin black engine bay paint.

Bonnet is also getting primed and also spray filler to take out all the slight pitting in the surface.


What a big job stripping all the paint again.
 
 
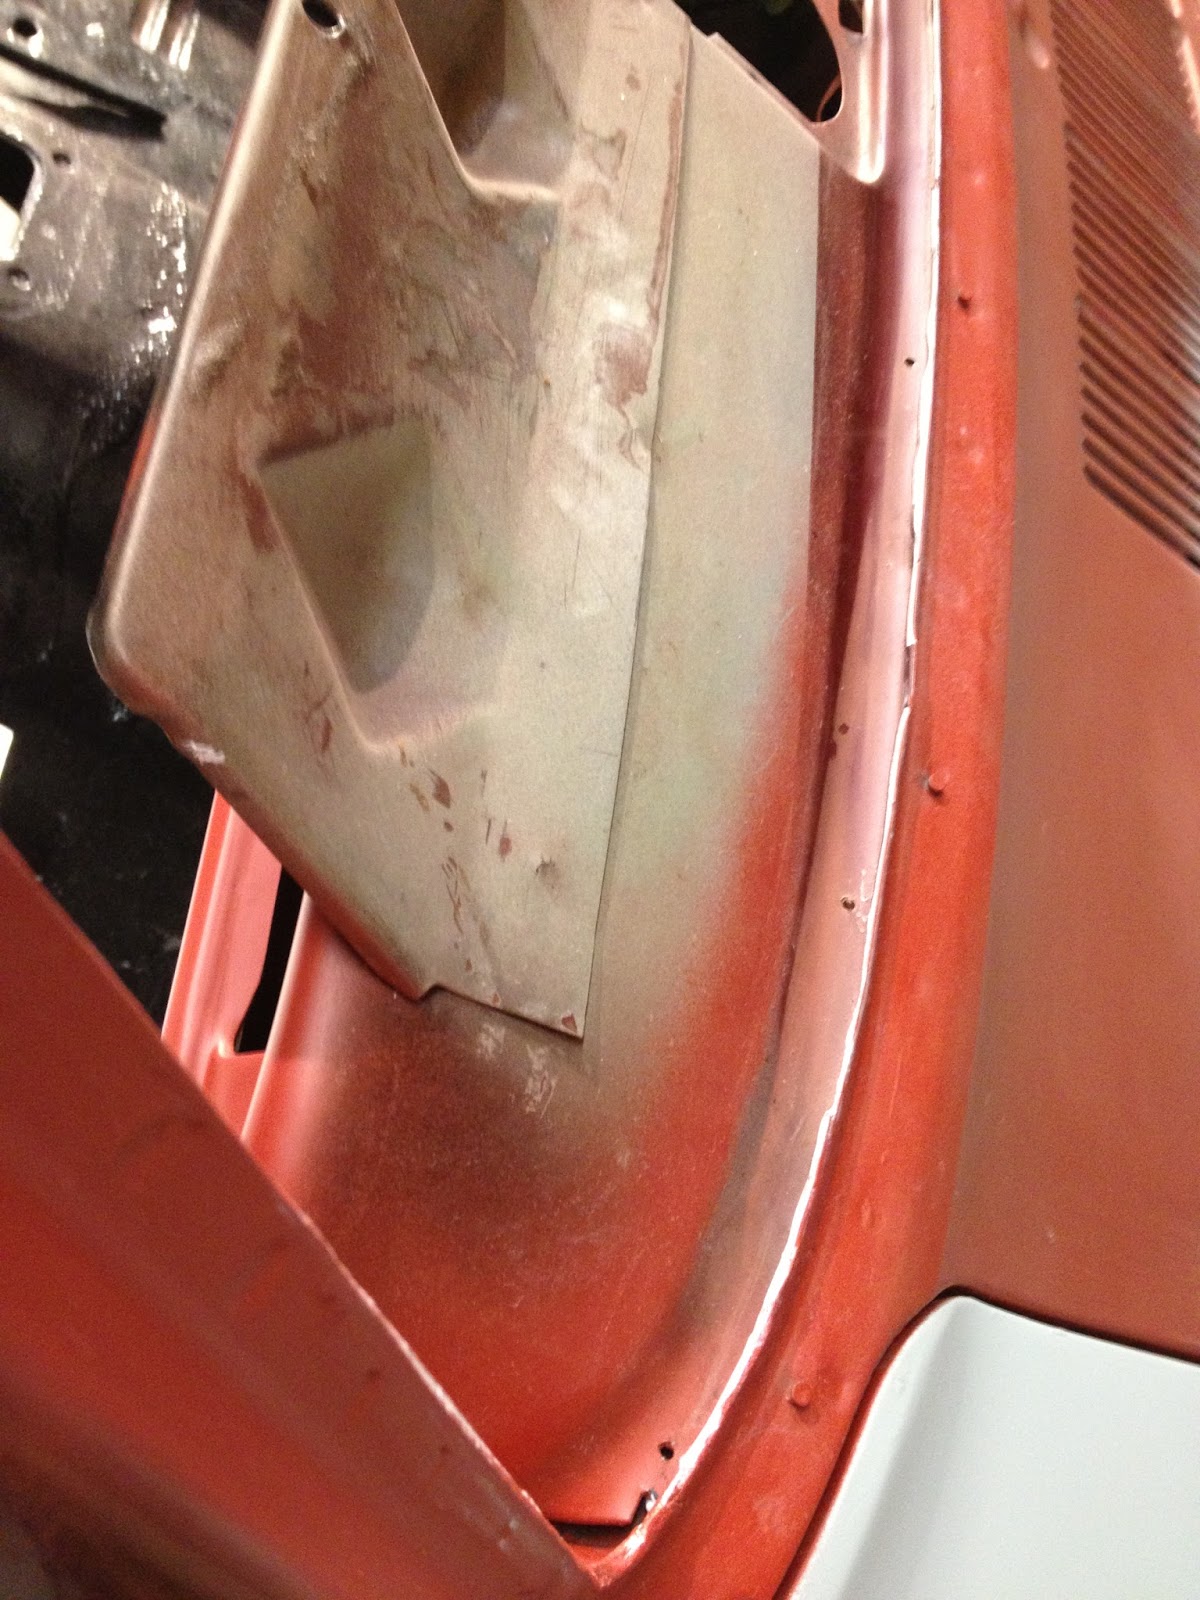
You can see the production line numbers on the radiater panel.
This let the production team know that this car was going to be a convertible and what colour to paint, what upholstry to put in and what accessories to put on.


A good coat of etch primer.
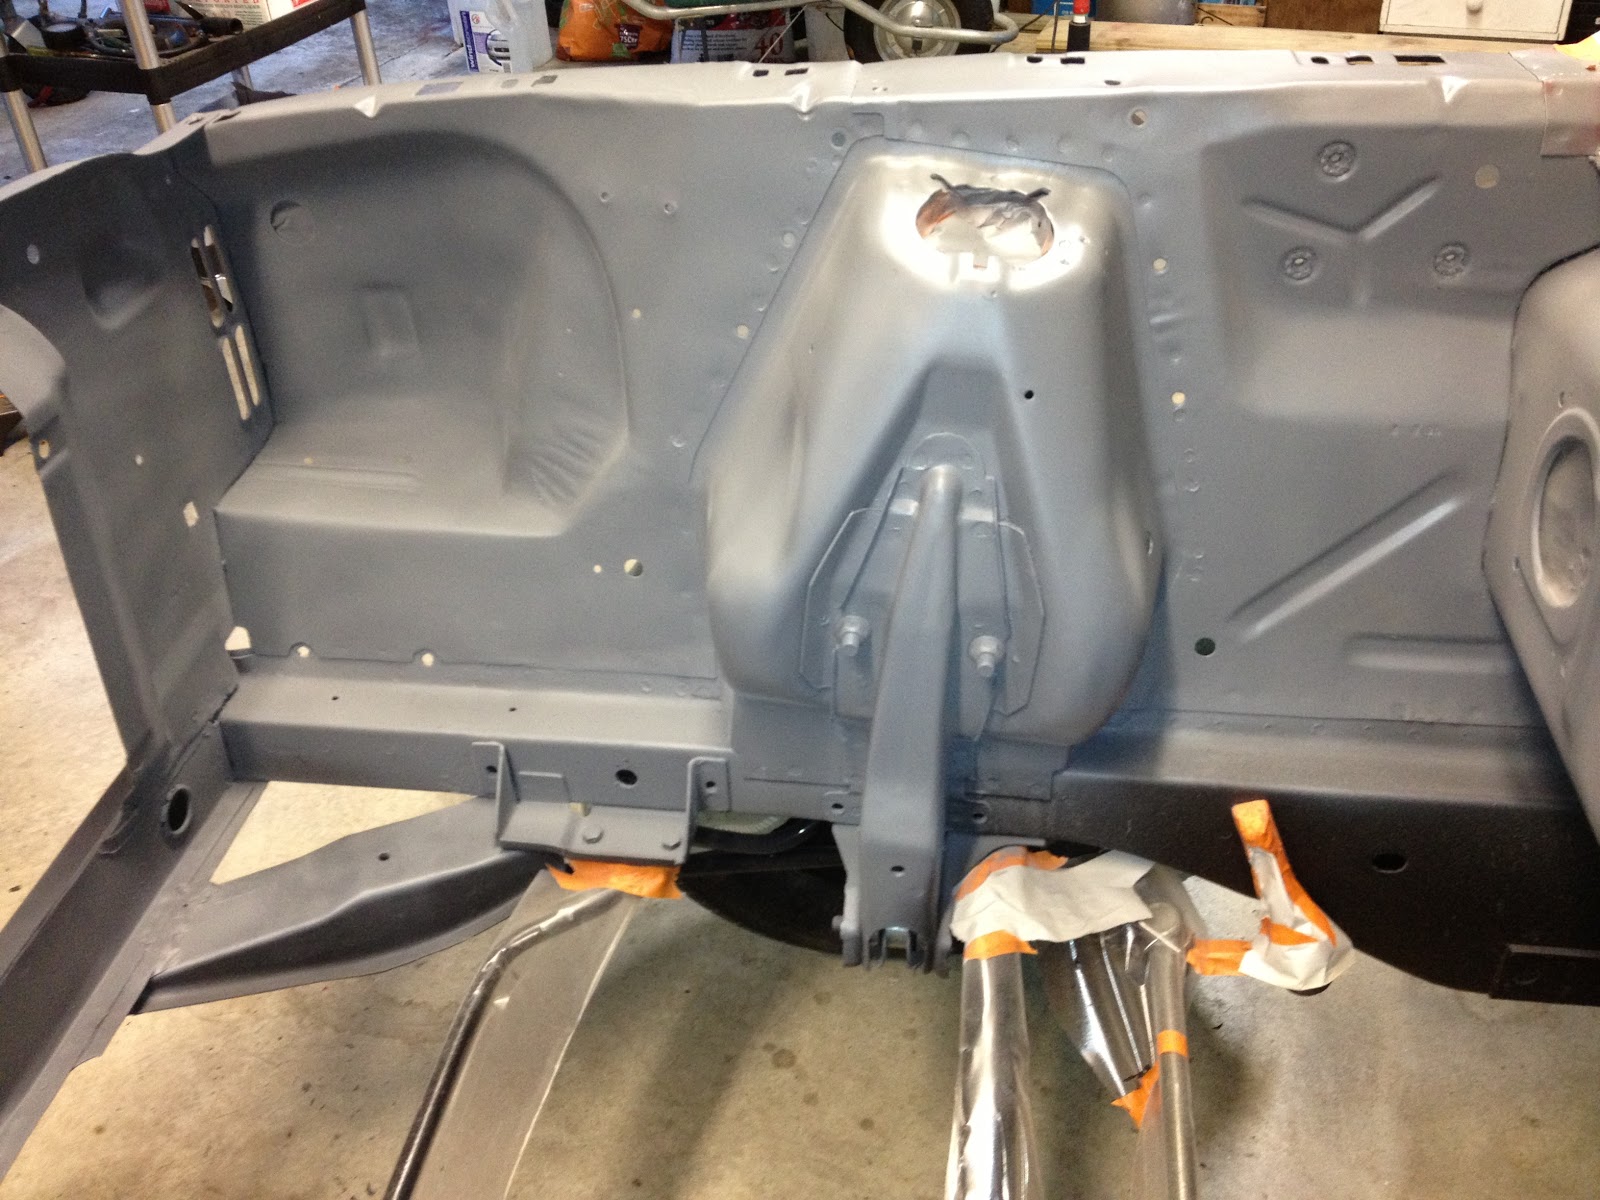
 
 
Now the satin black paint for the engine bay, just like the factory black.

 
Closeup of the chassis number shows how the satin black turned out.

 
This is the chassis number on the other inner guard.


Bonnet bump stop bracket


Here the bonnet has a good coat of spray filler now I will wet  sand and coat with 2 pack primer before giving the final coat.Then I bolt it back onto the body and align.
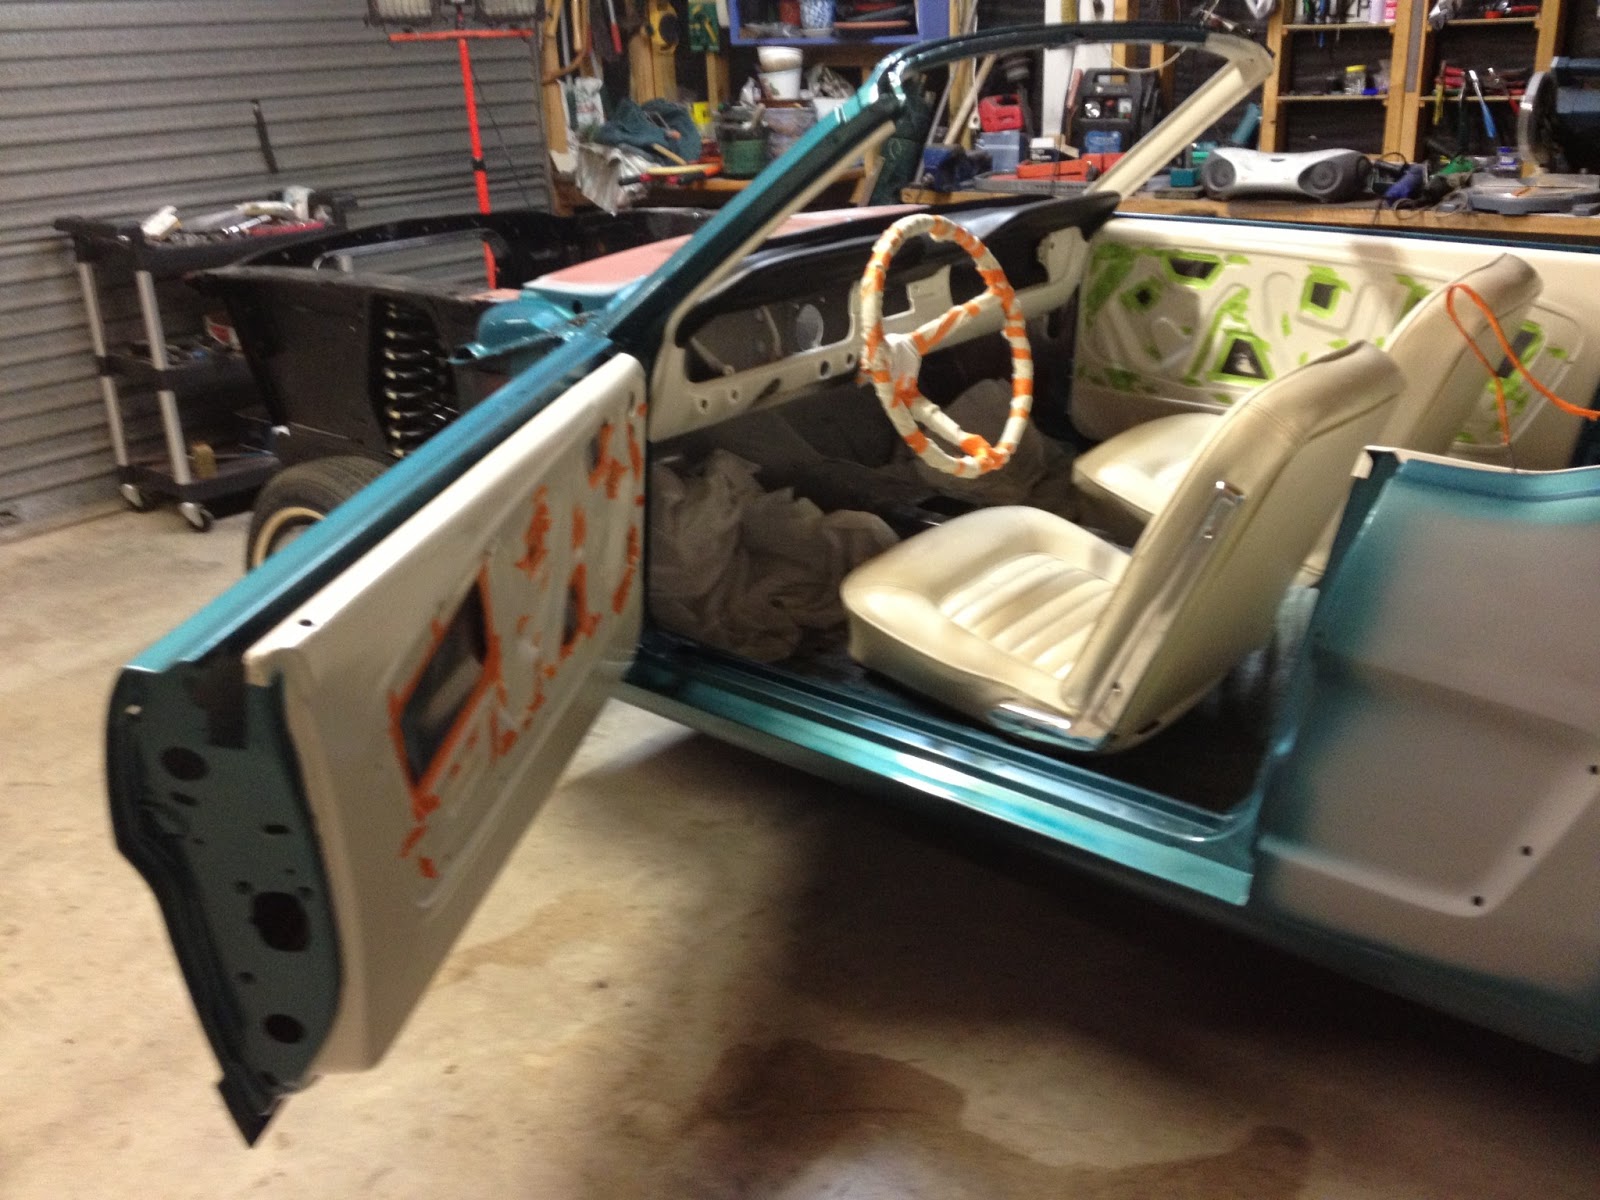


I put the seats in the other day to see how the white  dash and doors look with the seats and other trim.


Tuesday, 26 March 2013

Twilight Turquoise paint in all the door jams and trunk area.


That clear coat makes all the difference really gives the paint depth.


Hung the doors back on very good fit all that alignment prior to painting paid off.


I painted all the underneath of the guards boot lid and filler panels with a good coat of clear as well.


Next job work on the bonnet and front vent area and final alignment of guards and bonnet.


Rear Arm Rest Upholstery


I'll take a short rest from painting and get some upholstery work done, especially with the 2 pack paints, even though I have all the gear, masks goggles and full body suit the fumes are not good for you.


Cutting the padding for the rear arm rests as old padding has lost its shape.

New padding glued into place.


This part is real tricky, needed to mount it back in car to hold in position while pulling, heating and gluing to get all the wrinkles out looks a lot easier than than it is to do. 

Result looks good, slight wrinkles at bottom are hidden by seats.

Wednesday, 20 March 2013

More Undercoating and blocking back and finally some colour

                 This is where all the hard work making sure things are straight etc starts to show up.
Although I don't want to make it too perfect, the original cars were mass produced and had their share of minor imperfections.
Panoramic view of my workspace
I fixed the guards to the mobile bench with hex screws, this makes it easier to block down and work on them without fear of them dropping off.
This works really well, easy to work on and easy to move around.

Have to take advantage of the sun to help dry out paints even though they are 2 pack paints with hardener it just extra assurance that there is no more sink back of paints and fillers.

Dash gets its coat of 2 pack off white paint to match original white paint.
This was a different white to the white upholstery and it seems to go together rather than match everything to the upholstery which I think would be too much of one colour for the interior.
Looks more off white indoors yet out side it is very white.


                              A test run on the Twilight Turquoise paint colour to see that we are all go.
 Looks great out in the sunshine looks more blue outside in full light and green in doors. See above & below
                            Clear-coat makes the difference, adds depth to the colour and more sparkle.
 Steering column and kick panels get the same dash white paint, great paint really hard and scratch resistant.


Thursday, 14 March 2013

Finishing of Sealer and painting 2 Pack primer


Spending time working on all the panels now pays off with better results later on.
So I'll keep working until I'm satisfied everthing is straight and aligned properly.


Lots of detail to get right before painting.


Several coats of undercoat and blocking back on all the panels.


Hinges were align previously and sealed with sealant around the body.


Her I have spent time and effort getting a factory finish with the floor sealant that was originally poured over all the floor seams forming small puddles that go hard with time.


Here is the were the dash joins the door jams, this need to be fairly tidy as you'll see this area everytime the door is opened .