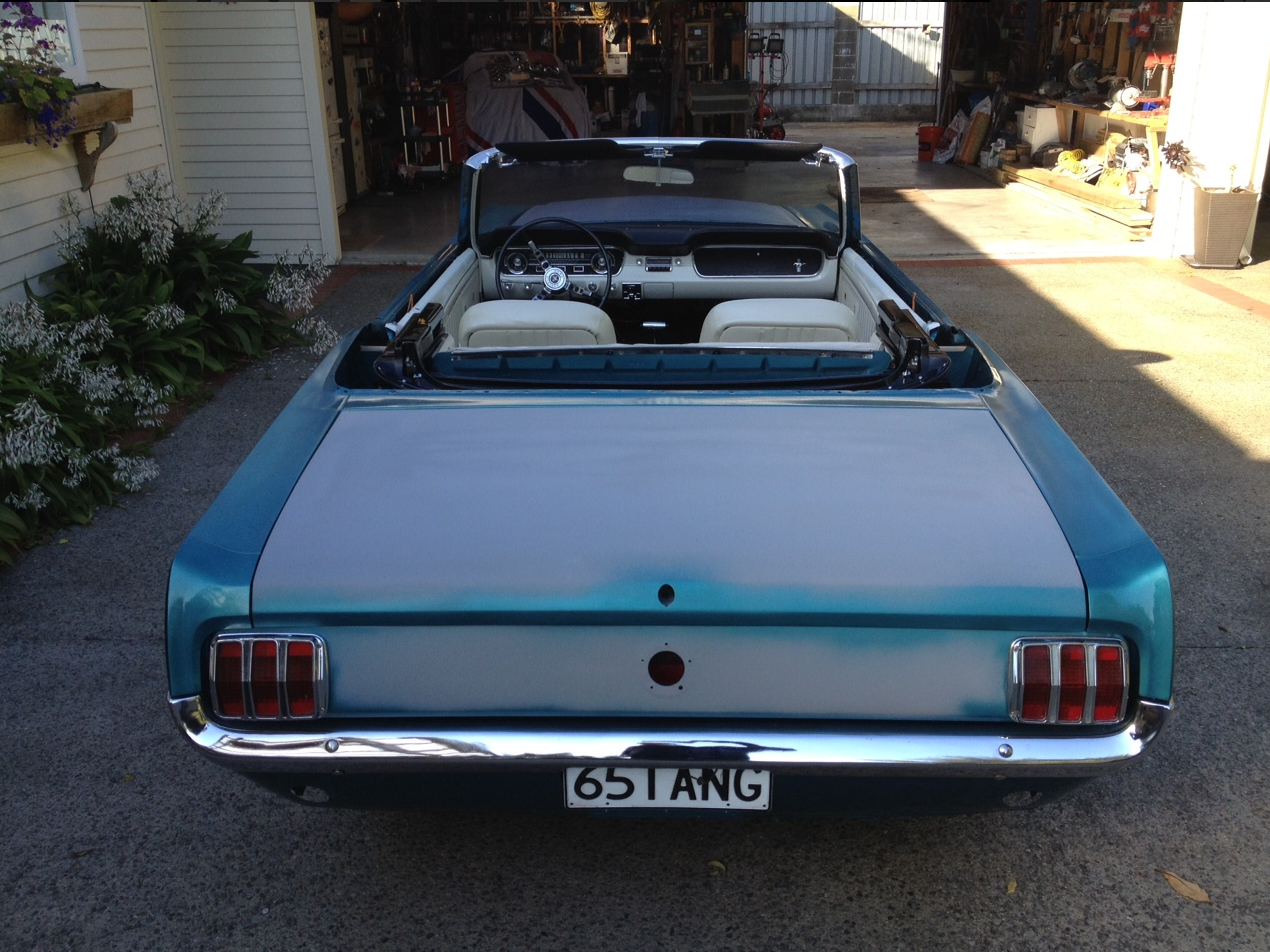
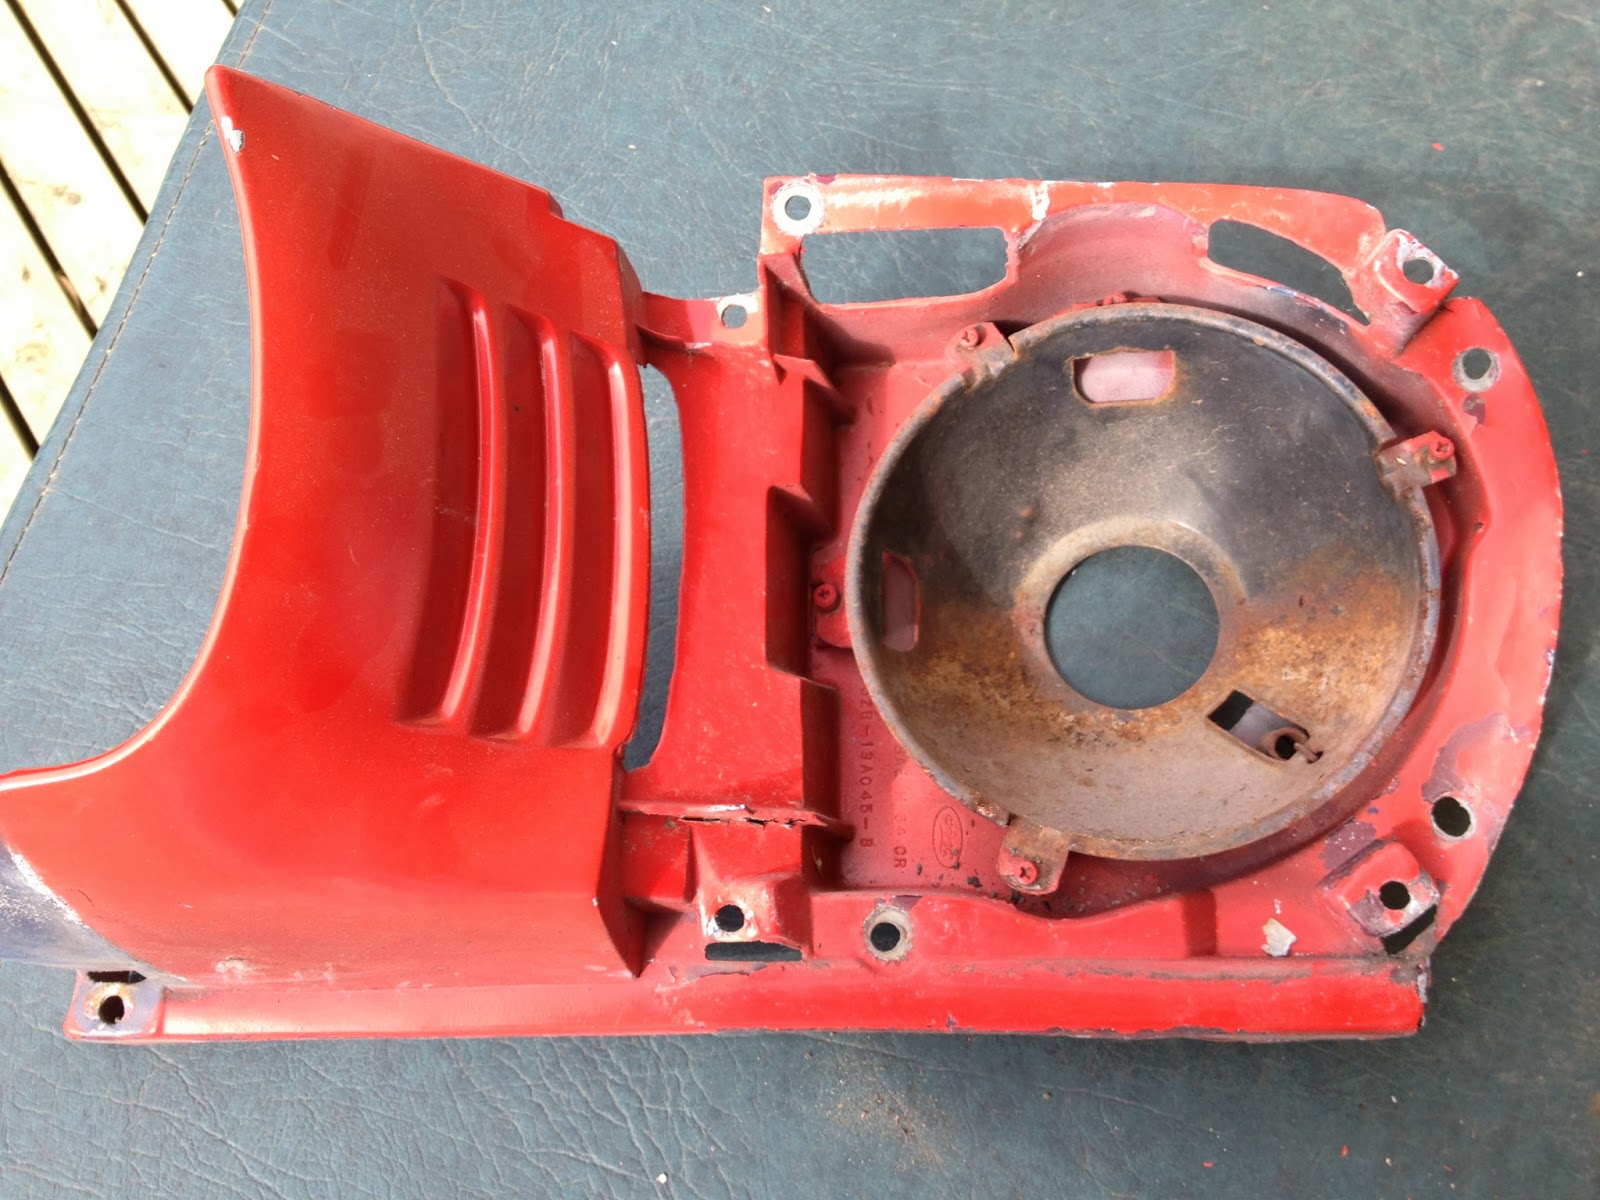
Once the roof lining, back window and all the weather strips were removed I took a lot of photos to make sure everything went back in the right place. The frame doesn't look too complicated but once you start pulling it a part there are so many pieces, you need to be well organised.
Each bow is a different size and shape not only that but every bush and joint are all different sizes and shapes.Take note which way each bush is inserted and also which way each clevis pin goes and the correct order of the washers.
Centre Side Rail
Roof Main Mount
Balance Link Arm
Balance Link Arm eccentric joint
Note a frame number marked on the front header frame
When cleaning up the roof bows I noticed numbers inside the the second bow. ( M2 )
And ( 3M ) marking in the third bow
( M2 )
The thin metal strip goes inside the bow to hold the roof lining inside the bow.
Markings on the end of the roof bow brackets, these are the same on each bracket.
All the side rails after stripping and painting in etch primer
Front Header Bow with new tacking strip riveted back on and front weather strip retainer screwed in place.
I mounted the frame halves to the bench while reassembling them this was helpful it would have been quiet awkward otherwise.
Front header assembly all back together.
Painted the wheels at the same time