Sunday 28 April 2013

Dashboard brakes and install engine Thanks Andre for your help, Thanks Virginia Classic Mustang for the help with parts and service


Have to take a break from body work as the paint shop is not ready to take the car for another 3 weeks.
So I figured I'll finish off the dash and  install the engine since the engine bay is painted.
My son is home this weekend and he would love to help me.


New defroster ducts but managed to keep original square tubing as it was still in good condition.


Installing all the wiring is a mission this took longer than I thought it would.


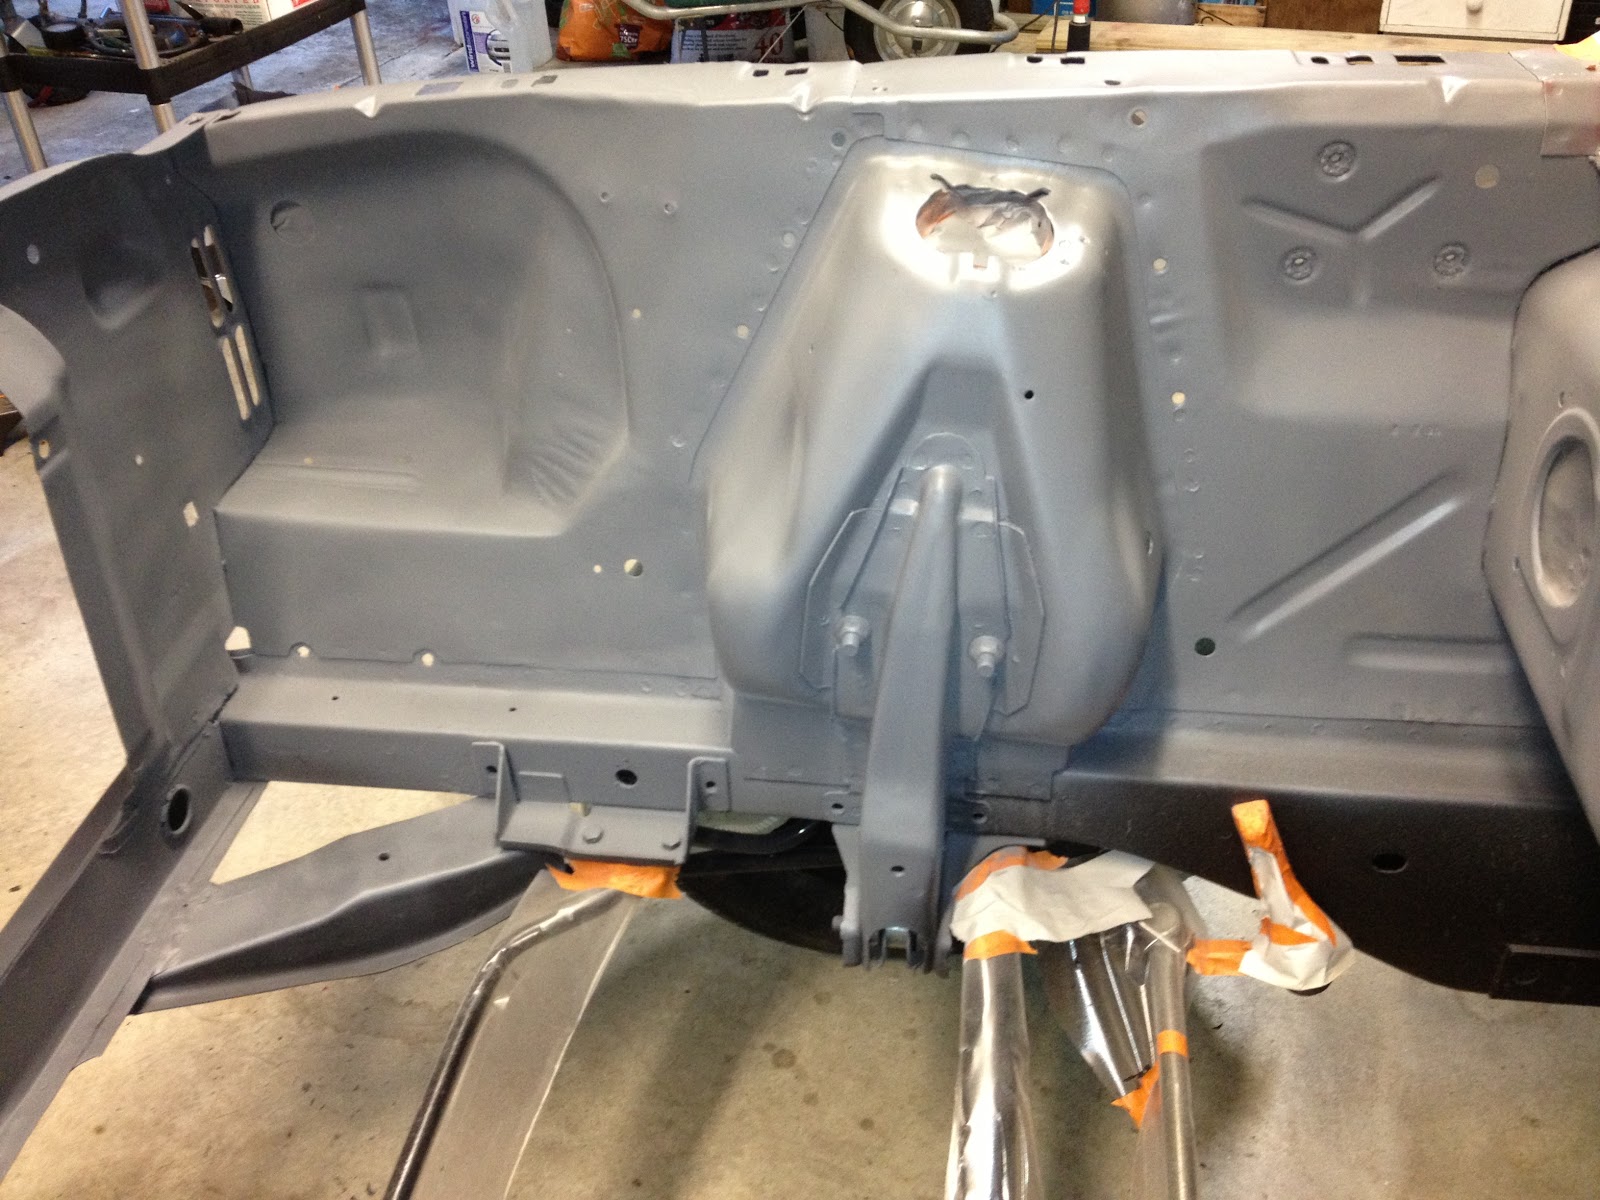
New dual master cylinder installed, I still have the original single pot cylinder but I'd rather ur on the side of  safety.


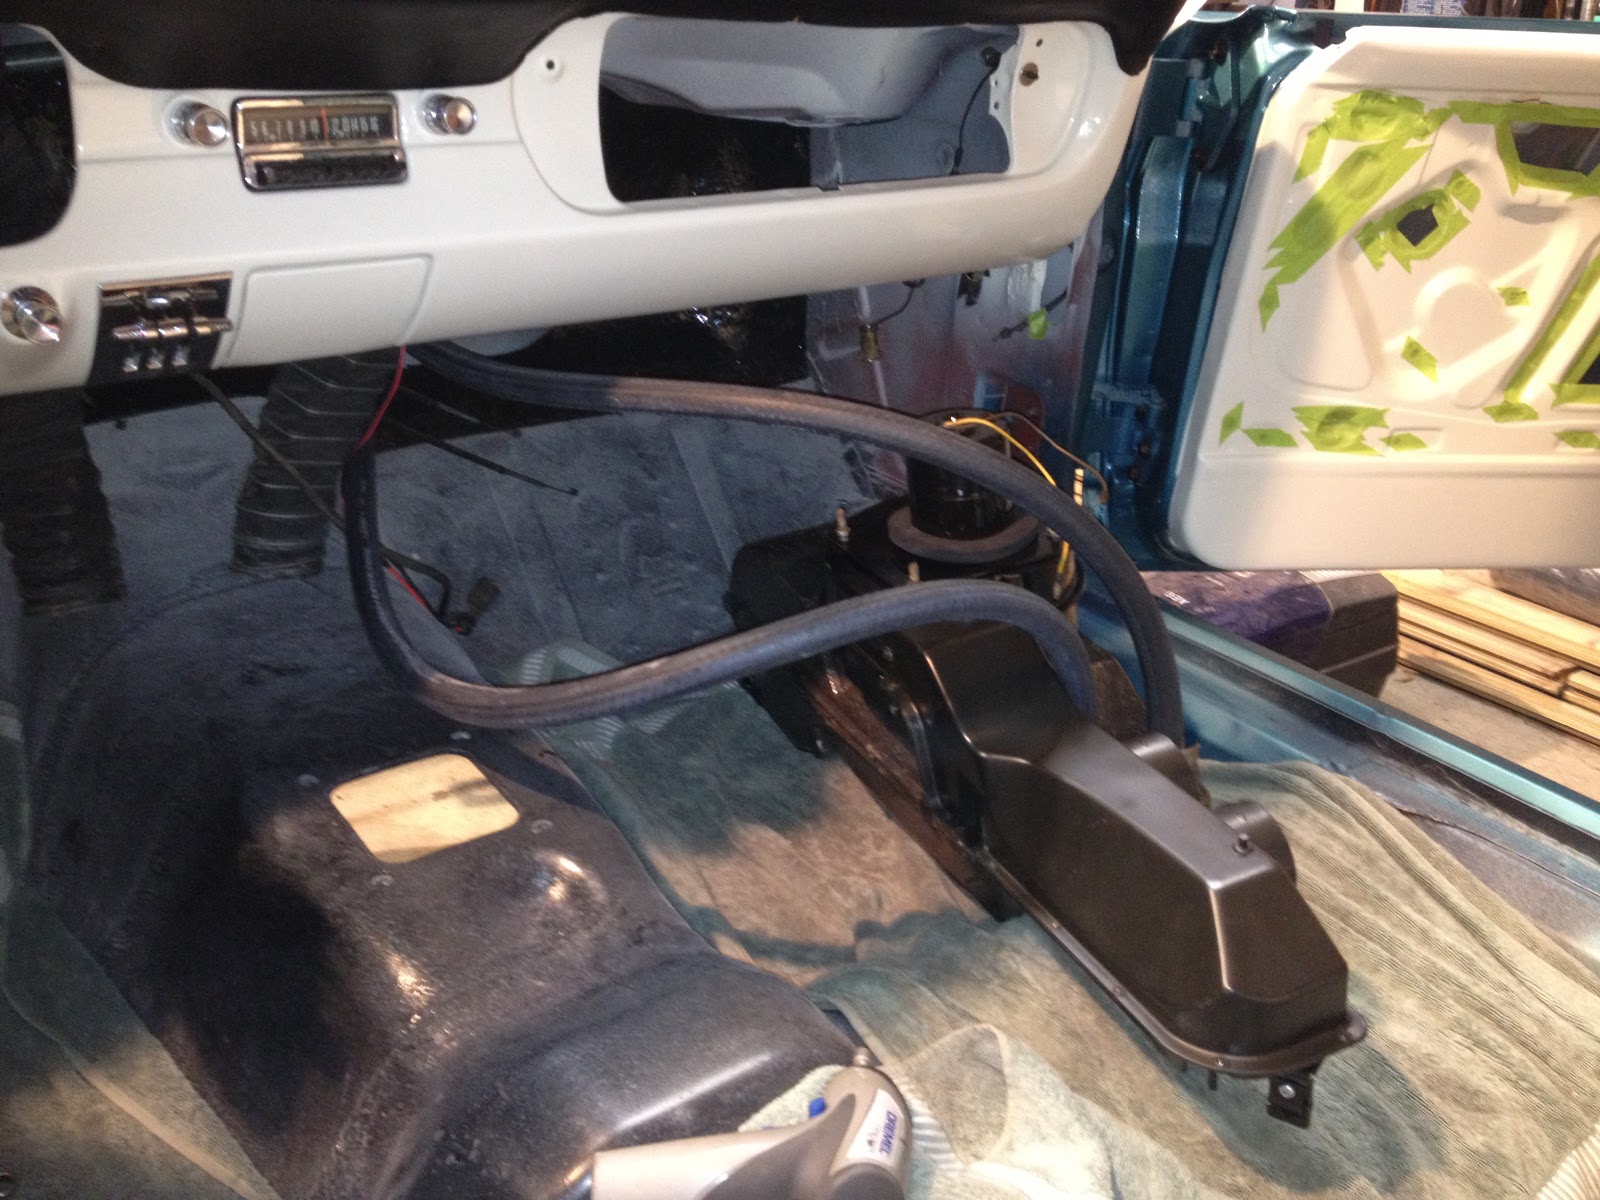
Had to hook up the new hoses to the heater first and feed them through the firewall.


Heater in and all vent controls hooked up.


Time to winch up the engine and put it back in place.


Andre helping me guide it in so as to not damaged any paintwork.Nearly home, Big Thanks to Andre for his help installing the engine.


And a Big thanks to Virginia Classic Mustang parts for all their help and supplying great quality parts.
I would definitely recommend them, their quick, efficient and very helpful.
It normally takes just over a week to get parts delivered to me in New Zealand.


The engine bay looking a bit happier.


Tuesday 23 April 2013

Undersealing the front guards and splash panels


Now that the paint is rock hard,I'll underseal the front guards and fit them.


I think the front guard where the antenna goes is too thin for the stress that the antenna put on the panel, you often see mustangs with distorted panels around the antenna area,
so I added some strengthening.


I added a extra plate of  prepainted panel steel which was glued to the guard using panel sealer then undercoated and painted.
I didn't want to weld extra steel as it could rust particularly with the antenna fitted, i think this will spread the load and be stronger in the long run.


Here is a picture of undercoated splash sheild that mounts behind the headlight bucket.


The underneath the way it was prior to stripping.


Rear splash sheilds installed


I can start puuting bits back in the engine bay as theres no more painting left to do here.


I'm putting the front back together so that once everything lines up well, I'll block the paint on the whole car and then apply the final coat of paint.
This also allows for any chips or scratches along the way while trying to line panels up again.
Just means a lot more detailed masking.


Thursday 18 April 2013

1965 Mustang Convertible The painting & preparation continues


Now that the engine bay is painted I can finish off the  front vent area and front guards.


Here the area was masked off and a couple of coats of 2 pack primer applied.


Drivers side vent  non the inside of the car was perfect no rust all original.
This is unusual as they mostly rust out on Mustangs.


The original rusted vent, not so bad but might as well replace, save any water leaks and rust problems in the future.

The passenger vent had to be replaced  with the standard fix supplied by most resatoration suppliers as this one had rusted out.


                          The vent area is painted and clear coated so that the guards can go back on.


At this stage the guards just receive guide coats of colour because I still need to block back the whole car on the outer surfaces.


Stripped to bare metal before painting


The inner surface of the bonnet is all painted and clear coated ready to go back on soon.


Originally the factory put duct tape on the top of the vent panel that is covered with the guard, I think it was there to protect that area as it is very tight fit and the guard rubs against it.
See original photos below when I removed the guards for the first time.


Front headlight frames and buckets are painted and ready as well now.


Got this new personalized number plate for the car once it gets  on the road.


Wednesday 10 April 2013

Redo Engine Bay and prime and prepare bonnet for painting

 
I did the engine bay in POR which was a mistake, even though I sanded the surface it seams to chip away too easily.
Just as well the motor is not back in place yet.

The gloss finish is not correct anyway, so I'll strip it all and prime with a good etch primer then paint with a satin black engine bay paint.

Bonnet is also getting primed and also spray filler to take out all the slight pitting in the surface.


What a big job stripping all the paint again.
 
 
You can see the production line numbers on the radiater panel.
This let the production team know that this car was going to be a convertible and what colour to paint, what upholstry to put in and what accessories to put on.


A good coat of etch primer.


Now the satin black paint for the engine bay, just like the factory black.

 
Closeup of the chassis number shows how the satin black turned out.

 
This is the chassis number on the other inner guard.


Bonnet bump stop bracket


Here the bonnet has a good coat of spray filler now I will wet  sand and coat with 2 pack primer before giving the final coat.Then I bolt it back onto the body and align.


I put the seats in the other day to see how the white  dash and doors look with the seats and other trim.