I remounted the roof frame with the existing canvas roof and using the original tacking strips and bolt holes and wear marks on the roof canvas, I lined up everything as it was beforehand.
That way I could get some good measurements to make up templates for the new roof.
Alloy front header bow is oxidised in places, this is where water can get trapped under the original top.
The wire attaches the vinyl top to the frame just under this section see below.
Once the screw is removed the wire cable can be removed as well releasing the top to fold back.
I found this label tucked in under the top pads of the the roof when I peeled back the canvas.
When I googled this number it came up with a white vinyl top with black interior and plastic rear window from Robbins Auto Top Co.
Looks like the roof canvas had been replaced about july or later in 1999.
This little welt trim piece holds the welt flat that cover all the staples, I think I'll use stainless steel staples as it won't tarnish the new top with rust stains.
The rear screen zipper exposed under the top and welt strip.
Seems to fold back better without the roof , I think it had become distorted over time and wasn't aligning properly.
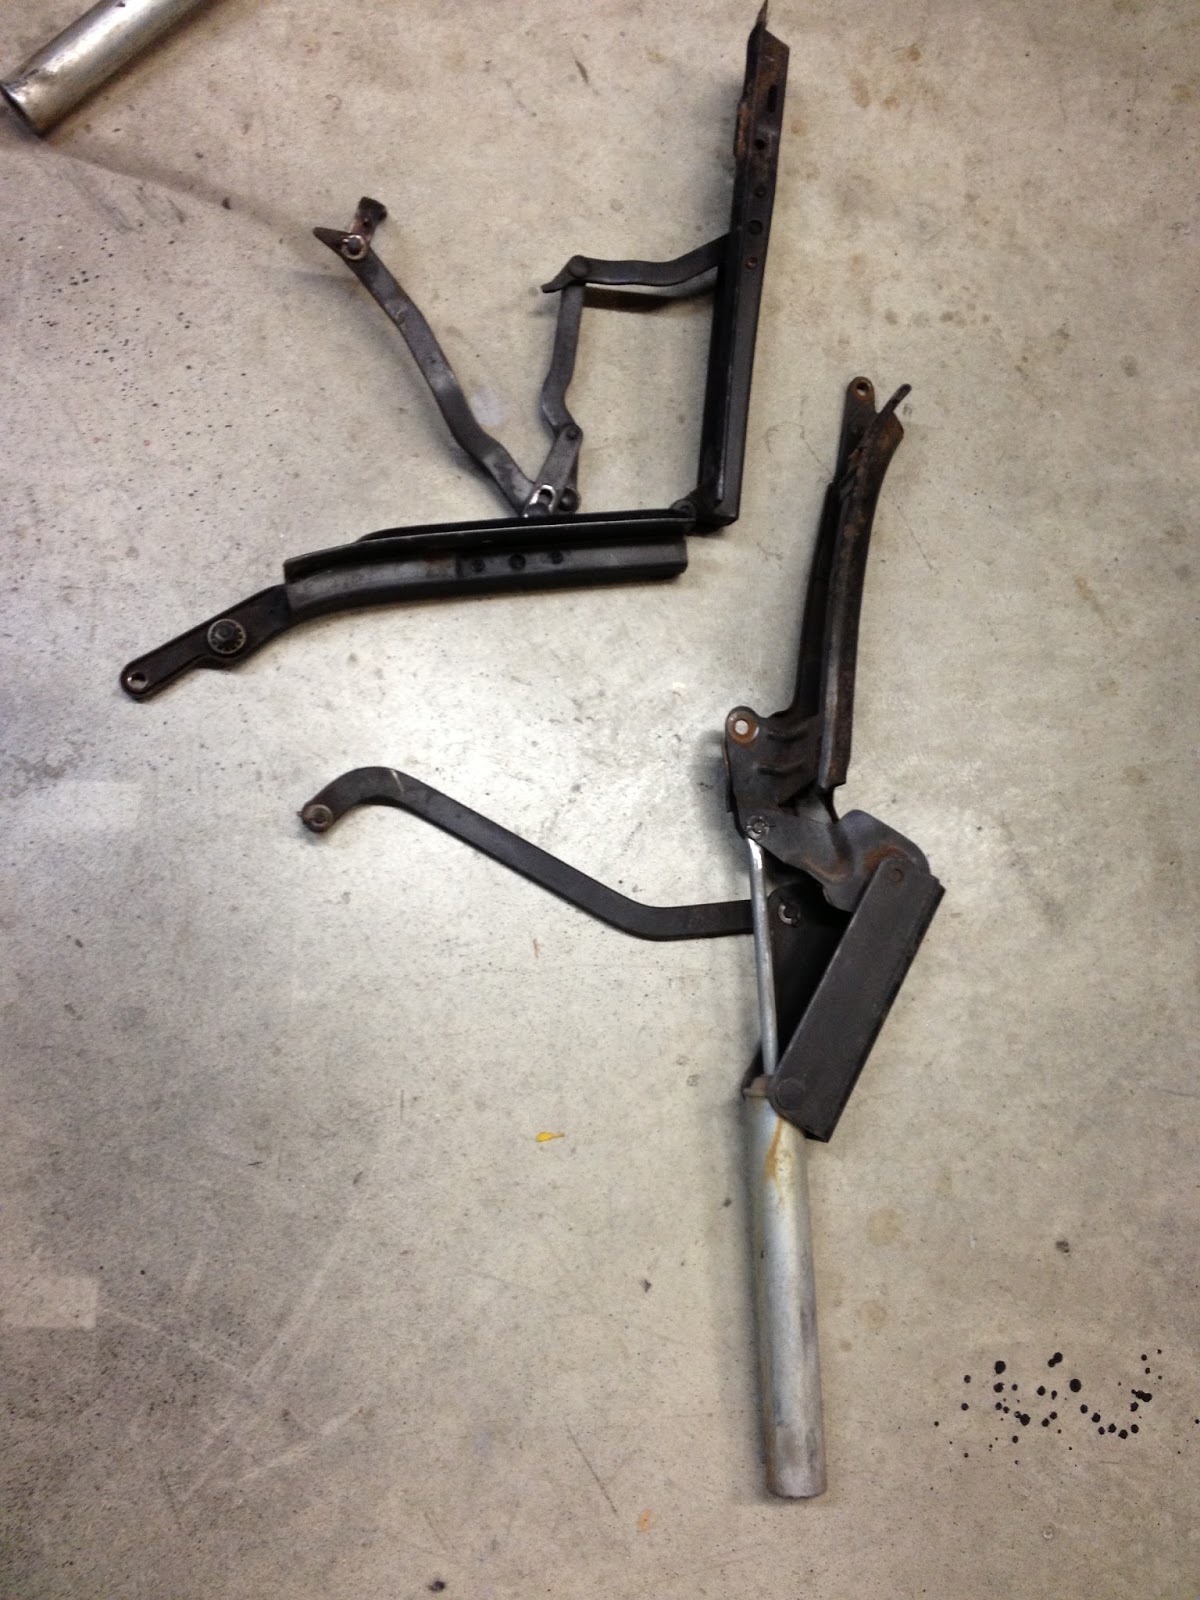
There is a lot of sideways movement in the frame as I move it up and down.
Partly due to broken or worn bushings in the hinges.
This hinge is where the most movement is . Its the first hinge above the door.
i noticed cracked and worn bushings that will need manufacturing as you can not buy these any longer.
This is the other end of the wire cable, it has a spring on it to take up tension.
I have two new ones arriving soon
The parts all have a little surface rust nothing too drastic and easily sorted, with some etch primer and using the same good paint that I used for the firewall this will be better than new.
All these screws and fasteners needed a bit of penetrating oil to loosen up screws, best to do and leave for a day or so, rather than strip off screw heads
Some minor rust and a lot of contact glue residue.
The template in position, this hold all the bows in correct formation.
You need to have between top bows for good fit and function.
These measurements are from trailing edge to leading edge.
No. 1 bow to No. 2 bow: 16 1/2 inches
No. 2 bow to No. 3 bow: 16 3/4 inches
No. 3 bow to No. 4 bow: 15 1/2 inches
No. 4 bow height to stainless moulding: 20 1/2 inches
No. 4 bow to drain that runs below the chrome moulding: 22 1/2 inches
On my car I recorded:
No. 1 bow to No. 2 bow: 15 3/4 inches
No. 2 bow to No. 3 bow: 17 inches
No. 3 bow to No. 4 bow: 13 1/2 inches
No. 4 bow height to stainless moulding: 20 1/4 inches
and the bows were adjusted down I'll have to look at it again at reassembly.
Before pulling the framework apart to clean up and paint, I made up some templates which bolt up to the coat hook holes in the frames
 |
| The two templates, one on either side all help line up the bows after reassembly |
I put back the rear screen once I made up the templates just to make sure all the original measurements worked out as this will be the first part of the assembly with the new top. A bit of a test run really.
Now I can start separating all the frame pieces and start sand blasting and painting.
Because all the different size washers bushings and pins etc, I decided to take one side apart and recondition that first then follow through with the other side after.
Saves loosing parts or mixing them up and I could see once I started that that was very easy to do.
I'll sandblast pieces one at a time repaint, re-bush and lube as I go.
Wind the Clock Back 2 Years
This was what the back guard was like, it had been crushed down around the wheel well.
It was a little rusty, but after replacing the rear guards and rebuilding the roof drains the roof lines up well again.
This is how the frame was twisted and no wonder some of the bushings shattered.